Click on a thumbnail to see the full sized picture
Captions are as follows:
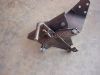
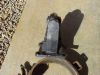
217 - Cab mounted mechanical governor throttle control
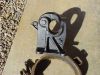
218 - Mounting bracket for mechanical governor
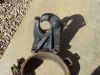
219 - Mechanical governor with dog clutch
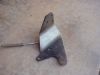
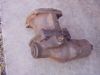
220 - Rear PTO pillow block and cast iron cover
221 - Rear PTO pillow block and cast iron cover
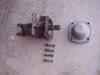
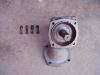
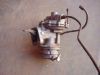
223 - Belt pulley gear case (made by New Process - Note logo)
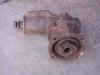
224 - Other side of belt pulley gear case
225 - Yet another view of belt pulley gear case
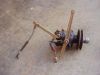
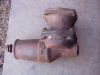
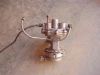
226 - Carter combination fuel and vacuum booster pump - Was optional equipment on Power-Wagons - (Different from M37 pump)
227 - Another view of the Combination fuel & vacuum pump - Available starting in 1957 - (Cost an additional $9.90)
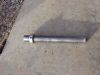
131 - Home made tool for installing front axle seal and bushing.
Construction of front axle seal/bushing tool:
Use a piece of 1.5 inch shaft
material 14 inches long. One 1.5 inch shaft collar. Put shaft collar in drill press vise and using
existing set screw hole, drill another hole on the opposite side of the collar. Tap threads in the
new hole you just drilled. Put collar on shaft using bushing & seal to measure the correct distance
required. Tighten ONE set screw. Go back to drill press and drill a spot through the other set
screw hole opposite of where you just tightened the set screw. (Drill the spot about 1/8" deep.)
Clean out metal shavings and install set screw where you just made the spot drill. Remove set screw
from opposite side and spot drill shaft from the other side. Clean out metal shavings and install
set screw where you just made the spot drill. You are now ready to install seal & bushing.
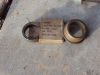
132 - Seal & bushing.
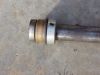
133 - Seal & bushing on tool ready to install. Use 5 pound hand sledge hammer to drive into place.
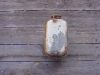
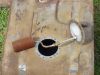
381-382 - Rare Power-Wagon coolant recovery tank. There was a metal pipe connected to the radiator
overflow pipe that ran to the fitting on the bottom of the tank. The tank mounted on the firewall
of the cab inside the engine compartment on the right side.
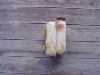
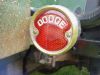
743 - Clint Dixon's 1947 WDX right side tail light.
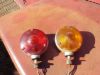
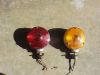
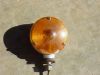
431, 435-436 - Signal Stat Turn Signals: Double Face, Pedestal Mount, Cyclostat® Style, Model
# 3810 Die Cast-Grey Housing, Three Wire. They used the dual element 1157 lamp and were a
combination park & turn, using separate elements of the lamp.
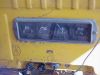
515 - Back side of 6 volt gauges for 1955 C3PW
516 - Front side of 6 volt gauges for 1955 C3PW
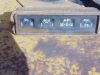
517 - Front side of 12 volt gauges for 1967 WM300
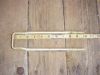
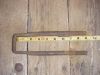
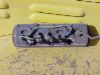
610 - Rear spring clip
611 - Front spring clip
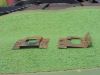
767,768 - Clutch Pedal & Brake Pedal draft seal retainer clips.
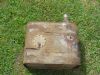
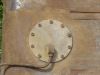
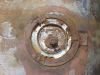
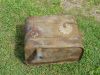
813-817 - "Ole Yaller's" gas tank. The tank is in poor condition on the bottom and has many holes and a split place about 3/4" long. The tank is unusual in that the pickup is mounted in a large round plate. I really like this feature, as this provides an easy way to clean out the interior. The inside of the tank looks good and is shiny and clean. The bottom is dented and distorted from years of abuse by previous owners.